Merryyy Christmas and Happy Holidays! Wow, winter has arrived and with only a view more days till Christmas, decorations are a MUST! So, whether you just like crafty schtuff, or are interested in some do-it-yourself decorations....this is for you...PAPER SNOWFLAKES! These are a classic, and super easy because it only requires -paper and -scissors...oh and a little bit of creativity. I am going to tell you of ways you could decorate with them, because they are so much more than just paper. So let's begin, shall we??
LET GO!
1. You are going to need regular white 8 by 11 computer paper. You can, of course, switch this paper out with any paper you would like, just remember, a thicker paper will be harder to cut...so investing in a heavy duty pair of scissors might be a smart thang to do.
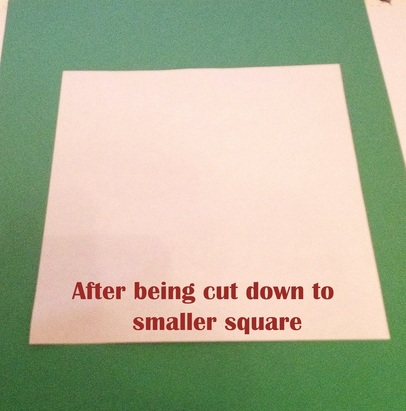
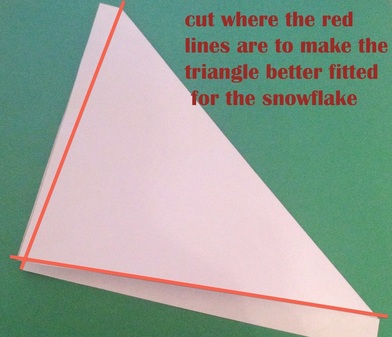
2. Next, I like to cut my paper down to a not so exact small square. You can decide on whatever size you want. I went with a size similar to that of my hand. Then I fold the square over into a triangle and cut off the extra sides to make the triangle precise. This will be sure to give the snowflake a clean cut square canvas to start on.
1. You are going to need regular white 8 by 11 computer paper. You can, of course, switch this paper out with any paper you would like, just remember, a thicker paper will be harder to cut...so investing in a heavy duty pair of scissors might be a smart thang to do.
2. Next, I like to cut my paper down to a not so exact small square. You can decide on whatever size you want. I went with a size similar to that of my hand. Then I fold the square over into a triangle and cut off the extra sides to make the triangle precise. This will be sure to give the snowflake a clean cut square canvas to start on.
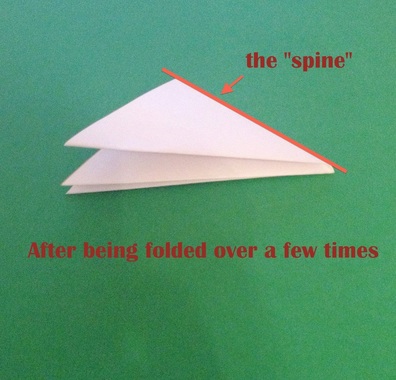
3. After that, fold the triangle over a view more times to make an even smaller triangle. Once that is done you may start to cut. It takes a lot of planning to cut super intricate snowflakes. If you are interested in cutting intricate designs then it would be wise to use an X-Acto Knife. Otherwise, scissors work well. Just keep in mind that some cuts might make the entire snowflake fall apart. So be wise and always know that the "spine"...like the spine of a book.. can be cut and designed, but it is what it keeping the entire snowflake together, so be carefulll! Also, be careful with the scissors, you don't need any cuts on yo phalanges. (aka fingers)
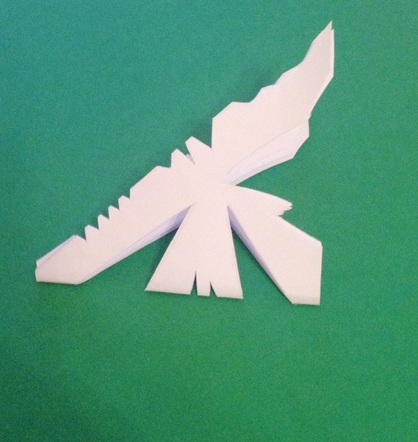
4. CUT YOUR DESIGNS!!! make them unique and your own. Look online for inspiration. It helps to map out what you are gonna cut, so lightly draw on the paper with a pencil and then cut away! It helps to open the snowflake to see how you are going to plan your design.
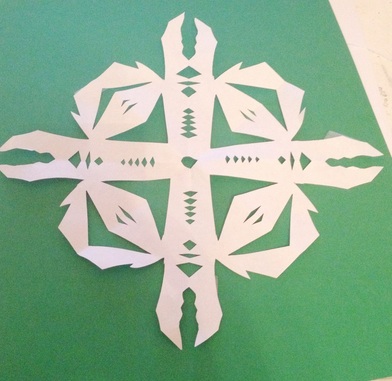
This is what mine looked like after all the cutting!
This is what mine looked like after all the cutting!
5. NOW, OPEN UP YOUR SNOWFLAKE!!!
6. And it is time to decide what you want to do with your snowflake!! You could add glitter to make them sparkle, or even go all out and make a snowflake chandelier.....really, they exist.
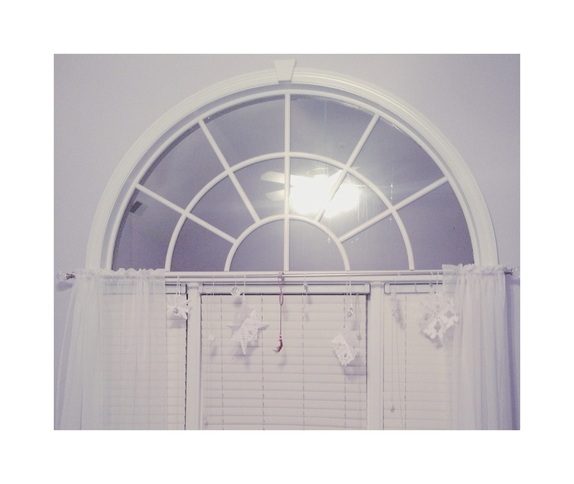
Personally, I wanted to hang some snowflakes above my bed on my curtain pole on my window. So I did! I cut big, medium, and small sized snowflakes. Then I cut out small circles and put silver, purple, and blue glitter on them. Then I treaded thread through both the snowflakes and sparkled circles and hung them above my bed. I love them, and they add such a winter wonderland touch to my bed room. What is so great about these is that they are versatile and can be so intricate and fun to look at. Don't be afraid to have fun with it!
Personally, I wanted to hang some snowflakes above my bed on my curtain pole on my window. So I did! I cut big, medium, and small sized snowflakes. Then I cut out small circles and put silver, purple, and blue glitter on them. Then I treaded thread through both the snowflakes and sparkled circles and hung them above my bed. I love them, and they add such a winter wonderland touch to my bed room. What is so great about these is that they are versatile and can be so intricate and fun to look at. Don't be afraid to have fun with it!
And there you are, folks! Hope this was fun and enticed you to go and try it....heck, why not! It will surely get your in the mood for the holidays that are coming up! Anyway, have a great Christmas and New Year!! See you in 2014! Ah, so crazyyy.
-Krissi ♡
-Krissi ♡
 RSS Feed
